Showing posts with label landscape. Show all posts

Using Gradient on blown out skies

        I was on my way out to Willow Creek last weekend when I noticed this absolutely stunning sunset as we were coming over the mountains. We were in a hurry but a sunset like that is impossible to pass by without at least stopping for a second... I took a few pics but nothing serious as I really just wanted to capture the beauty & not take too long (it was getting chilly yo!!) I kicked myself in the ass when I got home & looked at the pics b/c every single image had hugely blown out skies but the grounds was dark as all get out- like this one:


ORIGINAL- SOOC

original hwy 299

         So I opened handy dandy photoshop & went to work trying to bring up the light on the ground, & fixing the blown out areas while also making the clouds pop. Mainly I used the brightness/contrast adjustment layer, but found that while it made the clouds pop it made the blown out areas 10x worse:


FIRST EDIT- not too happy with the sky/clouds area, not enough pop but very blown out...
Adjusted levels on the sky/clouds only; Selective Coloring on entire image- yellows, reds, & greens; Added hexagon layers (@ 12% Opacity) in pink, orange & green (getting smaller as they go) to imitate lens flare... 

HWY 299


        I still wasn't super happy with the way it turned out so I did what every flickr lovr does & posted the original and edited image in a group "Photography Critique" and got some great feedback from one user recommending I use a gradient layer- get this- with DETAILED instructions!! Thank God!!! 
I have been so scared to use the gradient tool- I think because whenever I pull it up all I see is crazy colors... But I gave it a try & love the new image:


SECOND EDIT- Love it!! adjusting the blown out sky while making clouds pop with Gradient layer
Adjusted Levels of sky/clouds only; Selective Color over entire image adjusting the reds, yellows and greens; Hexagon layers in pink, orange & green (getting smaller closer to viewer) to imitate lens flare; Gradient Fill Layer set to linear, black & reversed, med. opacity (used a layer mask to reveal the mountains that the gradient layer was over and keep them bright)...

HWY 299 Gradient


     Which edit is your favorite & why? Or is something you would have done differently to this image? Feel free to download and edit- show me what you can do!!


Location: Vista Point off HWY 299 between Blue Lake & Willow Creek, CA
Date/Time: Wed. 4/27/11 @ 7:30pm
Subject(s): Sunset, Rolling Hills, Clouds, Sun rays
Notes: used polarizing filter & edited in photoshop

Ferndale Cemetery

Hooray for my first ever visit to the Ferndale Cemetery! Kinda morbid & creepy I know, but I just couldn't pass up seeing such an old cemetery- some graves date back to the early 1800's! We had to go to the fairgrounds to pickup my entries and arrived a little early so I thought the cemetery would be cool to stroll through (of course with my camera in tow!).

The entrance was pretty non-descript just a simple wrought iron archway behind a newer looking church.


I took this image on our way out rather than on the way in so it would be a little darker. I also added a warming tone over the image to make it appear more antique as well as film grain to help add to the antique feeling. 


This was the first mausoleum we saw as we came up over the top of the hill. I had to sneak a peak inside at that gorgeous stained glass window & boy am I glad I did as I really like the picture on the right of the inside with the light reflecting off the walls. 


As we neared the top of the cemetery I noticed this tiny angel statue in front of Mother Rainbow's grave (no joke!). It took some angling but I finally got the angel and the city in the same frame. I added a slight brown tint in post processing to get the antique-y apocalyptic feel... 


I saw these little round wall toppers as we were getting ready to leave. I really loved the shapes and textures of the balls- they looked like they had been there since the beginning. I'm sure they were gorgeous when they were new with that pretty pattern on the front. I really liked the way the balls lined up and the orange poppies and blue skies behind them also.... I played around with the focus on this set of images- focusing on the front for one image, then the second for another, and the last, etc... But this image with the shallow DOF (Depth of Field) came out the best. 


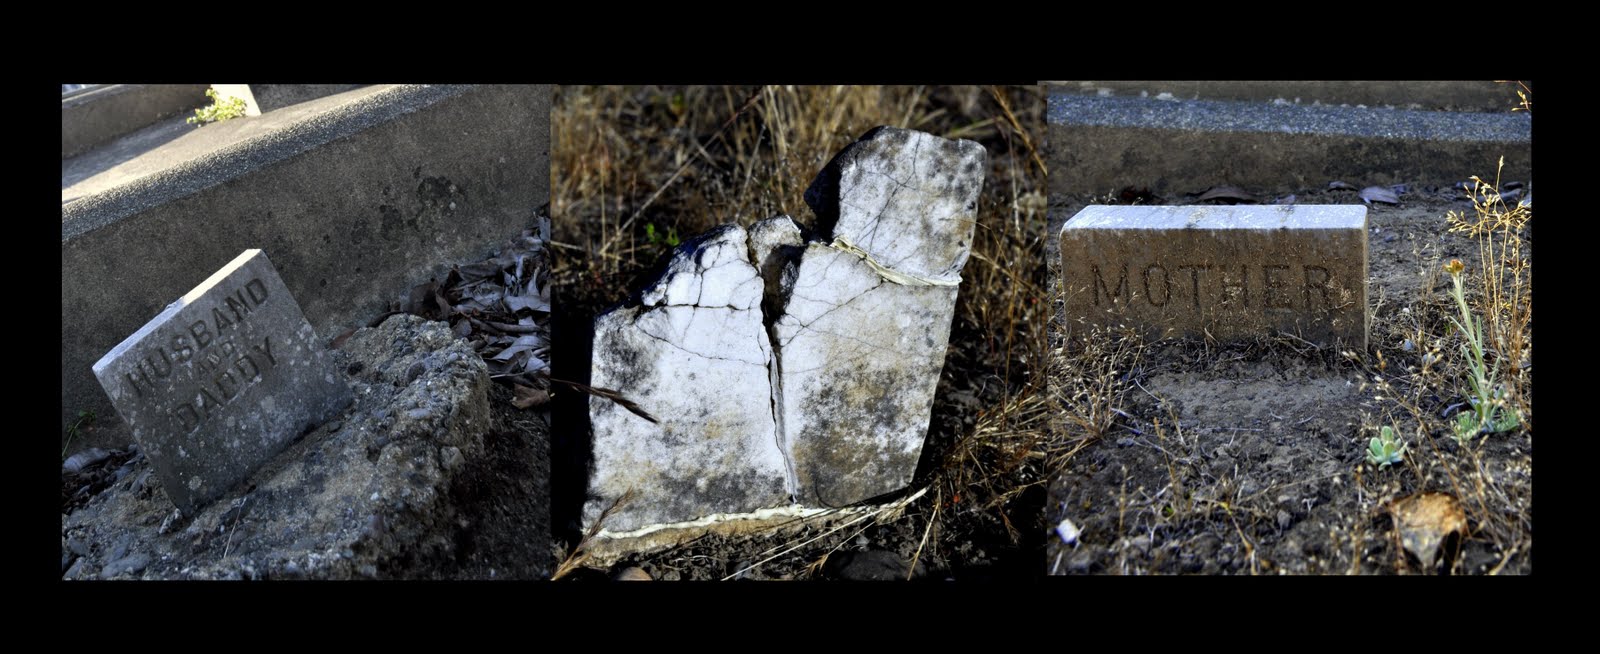
There were way to many unnamed headstones in the cemetery. There were also quite a few headstones that were anonymous to me- like these Mother and Daddy ones that were in a family plot. At first I didn't realize they were in a family plot & thought how sad it was that someone's mom & dad were buried so non-descriptly.... I thought it would make a good triptych (3 image set) so I compiled them together & got this...


The cemetery was great and it was nice to walk around outside on such a gorgeous day. I will have to go back & visit for each season to get some repetitive shots... =)


Location: Ferndale, CA Cemetery
Date/Time: 8/22/10 5-7pm
Subject(s): Flowers, landscapes, graves, statues
Notes: I took most of the images with my polarizing filter on the lens because even though it was 6ish in the afternoon it was still pretty darn bright out.

DPS Assignment: Mid-day Portraits

I have been meeting my goal of participating in at least 2 DPS weekly Assignments- WOOT!! It can be kinda hard to find time with the craziness of now being a business owner and still working full-time at the law firm. As much as I wanted to participate in this week's assignment- LOW ANGLE- it is a technique I use alot and feel that I challenge myself on almost every photo session I do- Simply put I LOVE the low angle perspective. 


The upcoming assignment for DPS forums is Portraits, but not just any portrait- MID-DAY PORTRAITS. Why mid-day you ask? Well, the sun is brightest at midday which can make for some extremely unflattering and washed out pictures, making assignment tougher. To top it, this assignment had a few extra rules- it had to be a mid-day portrait using at least one of 3 techniques discussed in a blog post (http://digital-photography-school.com/3-tips-for-shooting-portraits-in-bright-sunshine) :

1) Find Shade- I both found shade under a tree and created shade using a large white floppy hat

2) Use a fill-flash- I used fill-flash on a few images and was pleasantly surprised- I would have never thought to use flash on a bright sunny day at 3 in the afternoon!

3) Use a reflector- I skipped this one- hey I used one more that I had too already & we were technically trespassing :)

We went up to Kneeland with my friend Buda (my pretty model) & the dog. I have been wanting to shoot in Kneeland for quite a while but never have the time or drive to make it up there. So I decided to do the portrait shoot up there thinking the scenery would be prefect & make for some awesome images- I was right!! We stopped at the schoolhouse & the adjacent field/barn for these images:

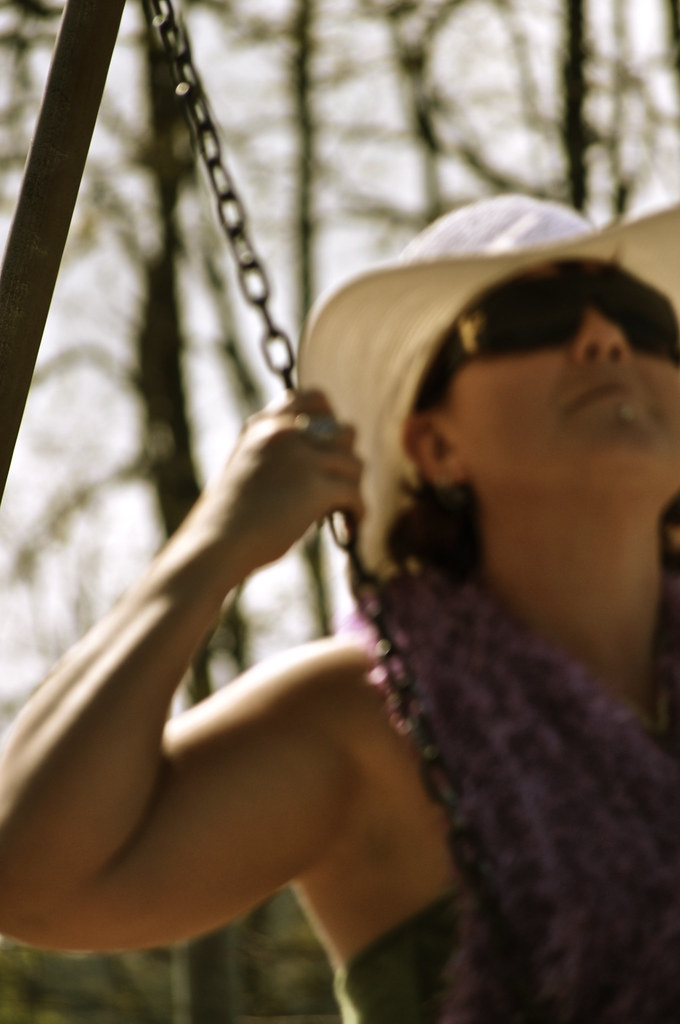
The first thing I went for @ the school- THE SWINGS!!! It has been forever since I have been on a swing & it felt great! It also felt a little dreamy, swings generally remind me of elementary school. I wanted to re-create my dreamy feeling in the image so I left the model a little blurry as if she too were dreaming. I love the way the light is hitting her, illuminating the edges & making her almost glow.


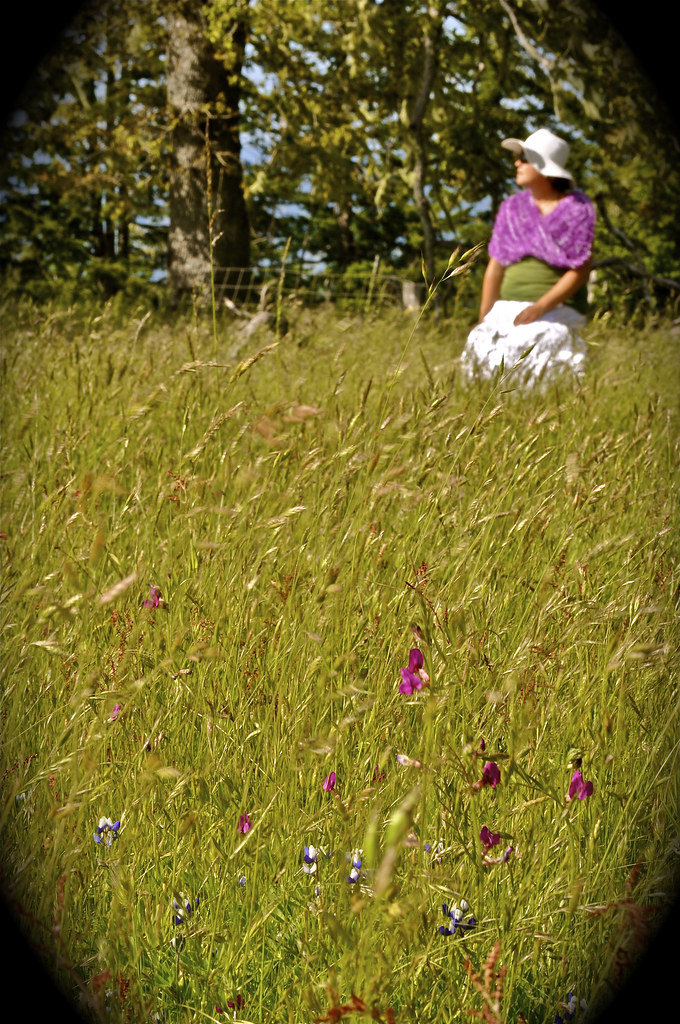
I really love this image also- I wanted to try and be more creative by keeping the subject out of focus and picking another focus area- in this case the flowers at the bottom of the frame. Practicing the whole "give your subject space to look into" thing!!


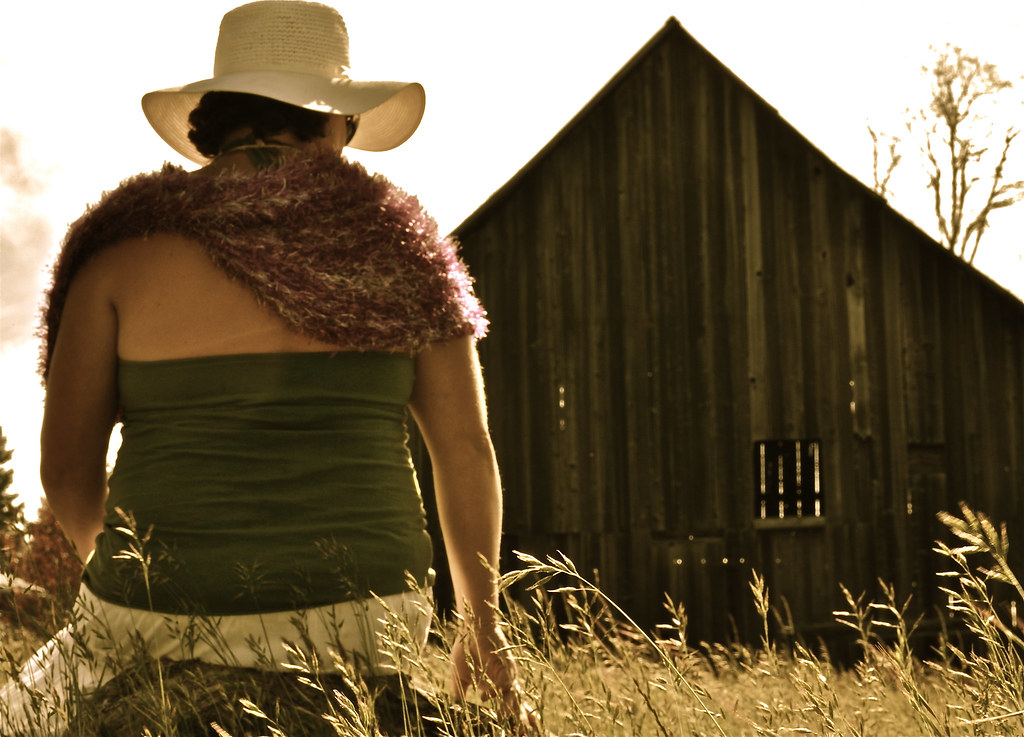
I took this image as an after-thought. I really loved the barn in front of her and the grass in the field. I processed this image quite a bit to get the right antique feel to it- I used saturation, antique effect, and highlights to make the grass stand out & look sun-kissed. 


 I was trying to vary my shots between vertical & horizontal. I post-processed this image mostly using the saturation & highlights tools. 


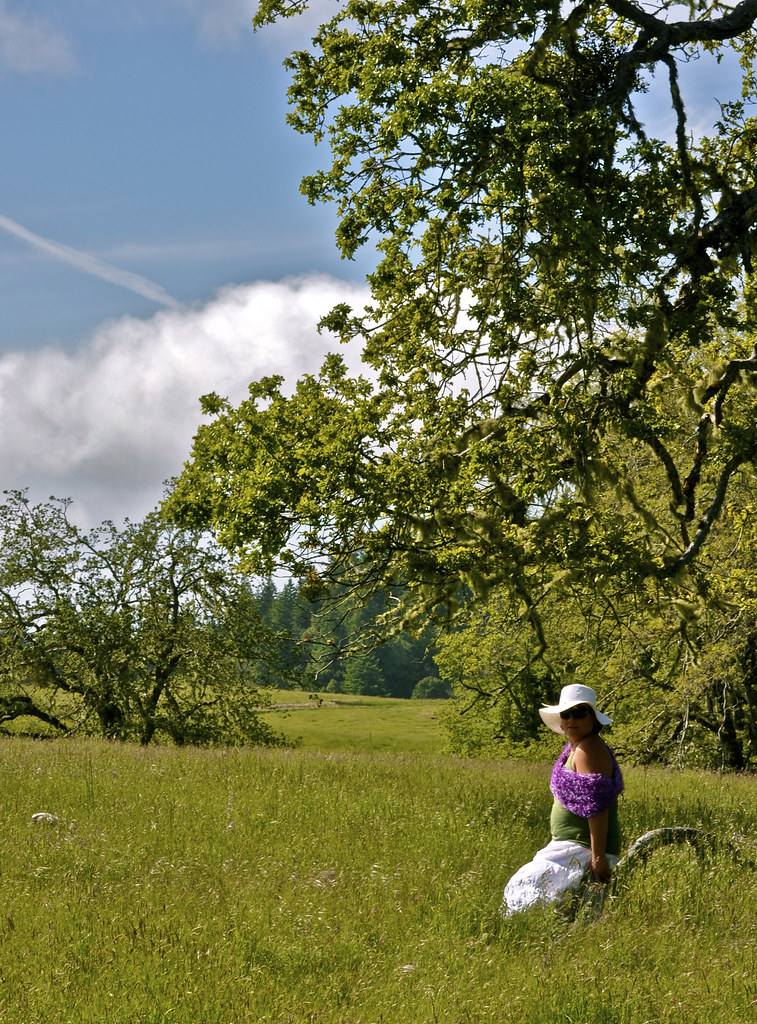
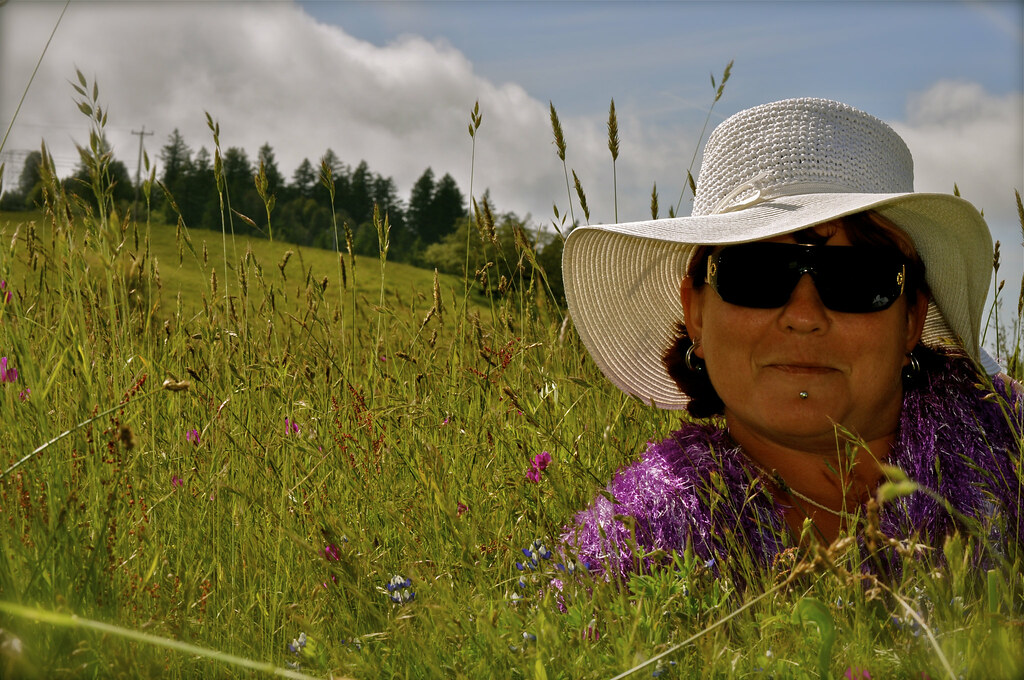
And last but not least- my entry for the assignment! No. 1 thing I learned about field portraits- be prepared to do some grass pullin! There was a ton of grass between her face & the camera I had to pull up to get a clear shot. I really love the play between the shadows created by the hat & the light of my fill-flash- It illuminated my model just enough without overexposing the rest of the image. I also was very happy with the lines created  toward the top of the image from the hat folds & the rolling hill in the background. 


This assignment made me sooo friggin nervous you can't believe! I can't image having someone pay me for portraits- what happens if they all turn out shitty? Even without any pressure from my model or for specific results it was still pretty crazy for me. I think I kept my mouth shut the entire time & didn't give Buda any directions on how to pose other than the occasional "sit there" or "lay here". Thank god she is such a great friend & model- it just came naturally to her! Next time I need to just get over the nerves & communicate- without such a great friend & sport this session could have turned out quite badly!! THANKS BUDA!!!

Location: Kneeland, CA by the Schoolhouse
Date/Time: 6/20/10 @ 3pm
Subject(s): Portraits
Notes: All images post-processed in IPhoto adjusting definition, highlights, saturation, and sharpness.

Long Exposure- Golden Gate Bridge

I have been browsing my new favorite blog (Digital Photography School) and seen alot about long or bulb exposures for night images. The long exposure makes the image more dynamic & brings out alot of light & captures things that I possibly hadn't even seen, I have horrible night vision! I had never really tried taking night images before so I figured that long exposure would be the one thing I was going to try out this past weekend, since I was going to be in the city.

I stopped at the Vista Point just north of the Golden Gate around midnight, setup my tripod on top of the railing, set the shutter speed to bulb, and used my remote shutter trigger to start and end the exposure (this should have avoided any possible shaking or bumps and made the image really clear and sharp). I took around 8 photos but some were not even in focus, a downside to using the remote for the first time for long exposures).

I will have to shoot more Long Exposures. I was ecstatic with these two shots:

13 SEC. EXPOSURE- a little too bright for my liking however the detail in the stars is gorgeous!


10 SEC. EXPOSURE-  I think this one was my favorite. The clouds look gorgeous, the city lights are reflecting nicely of the water, and the bridge lights have a nice orb-ish look...

Location: San Francisco, CA
Date/Time: 5/10/10 midnight
Subject(s): Golden Gate Bridge, City
Notes: NO PROCESSING OR EDITING on these images

Los Angeles

I just got back from a roadtrip to LA last weekend. I was really excited about being able to photograph in the big city. Most of what I take pics of are landscapes and things so I was pumped to try out city shooting! First thing I realized- City Shooting means ALOT of patience & luck (waiting for cars to clear the intersection, waiting for ppl to clear out, and MOSTLY having the camera ready to shoot at a seconds notice.) Patience is not my strong point, so it was good to have to take a minute and wait sometimes.

 Most of the images below were taken with little to no preparation (I changed my lenses maybe 4 times while I was there!), with the Nikon on Auto, Program, or No Flash Auto. 

This is the main entrance to Venice Beach- This brown gull dropped down into the puddle and apparently the white gull wasn't givin up his chillin spot! If I hadn't had my camera ready to go I would have missed this shot trying to get my camera ready....


Venice Beach Grafitti- I had to wait a while for this area to clear out as they were shooting a MTV show a few feet to the left of this object....


Pretty Flowers at Venice Beach- This shot was actually made tinkering with the Aperture setting, I wanted the closest flower nice and sharp and bright, with the others a little blurry...


Venice Beach Lifeguard Stand at Night- I really enjoyed this photo because I do not take alot of night photos and the lights pouring out the shops lightens up the darkness and adds alot of interest to what would have been a flat boring background...


Santa Monica Lifeguard Stands- This picture isn't the best- I wanted a picture of a row of the differently colored stands but there were a ton of people out and this image isn't really what I wanted. I will need to try that one again on the next LA trip!


Antique Santa Monica Pier- Picture taken with Polarizing Filter, then applied Color Boost and Antique effects in I-Photo. I like this photo alot, even though it has an old antique look it still has alot of color and sharp definition of the pier. I especially like the yellow hue on the water to the left reflecting off the yellow rides on the pier.


Ethan @ Santa Monica Pier- I like this portrait. Even though the background is fairly busy I think it is balanced out by the highly defined water and open sky at the top.

You talkin to me?- Seal at Santa Monica Pier, I had to wait a LONG time for this guy to look up at me.. workin on that patience!

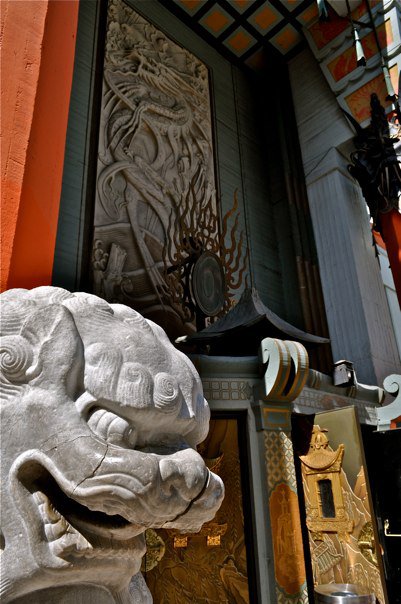
Grauman's Chinese Theatre-  Side perspective of the door and plaque. I like this image alot.

HOLLYWOOD- view from the mall by the Chinese Theatre- it was pretty hazy out but not too bad for the first time try! I had to break out my superzoom lens for this one!


Elvis in Sepia- Originally taken in color with the Sepia added from in-camera effects....My first time using the in-camera editing tools, and I realized I need to be using them ALOT more! it drastically speeds up post-shoot editing.


Location: Los Angeles, CA (Venice Beach, Hollywood, Santa Monica)
Date/Time: 5/7/10- 5/10/10
Subject(s): Landscapes, Cityscapes, Structures, Things
Notes: very little editing work done, mostly adjusting light, saturation, and definition in I-Photo...

R&R at Trinity Lake

My 23rd birthday was this past Friday so I packed up my man and pooch and headed up to Trinity Lake, about a 3 hour drive from Eureka, for some big time R&R and of course fun! We tried to 4WD it up a few forest service roads- trying to get to Boulder Lake Trailhead and Bonanza King Lookout- but had to turn around on both roads b/c of huge snow drifts too deep for the truck. Instead we went 4WD'in on the old Lake-bed and went out for a gorgeous Sunset Kayak cruise with the pooch in tow. I was surprised at how well she did on the kayak- she almost bailed a few times but ultimately stayed on the kayak and seemed to enjoy the ride! After the ride was over we packed up the kayak and had time for a few low light post-sunset pictures....


Creative Focus- We 4WD'd it through a huge path full of these- they were taller than the truck- followed by a overflowing creek...


Pooch Action Shots- the first photo is a little more in focus than the second photo, but I think the movement more than makes up for it!


Trinity Lake Sunset Vista


Trinity Lake Panoramic- taken from the overlook just before the Trinity Dam. We saw a pretty large wolf along the side of the road on the way to the dam, thankfully my dog didn't jump out the moving truck to go after him!


Last but not least, we stopped on the side of the road to let a state trooper pass us and got a great photo op! I am in love with the Trinity River and while I think this is an okay photo it still does not do the Trinity or my feelings about the River proper justice. I guess that means I am still on the hunt to take that perfect, quintessential Trinity River picture!


LOCATION: Trinity Lake, Dam, & River outside Weaverville, CA
DATE/TIME: 4/17/10 post-sunset, and 4/18/10 around noon
SUBJECT: Nature, Landscape, Water, Mountains, Doggie, 4Runner
NOTES: Only editing done on these pictures is cropping and adding the vignette finish


All HAIL Friday

I was napping on the couch friday afternoon snuggled up cozy between my man and my dog when I heard the thump thump of hail outside. I nestled in a little deeper and almost disregarded the noise until it got louder and louder and I realized it had been hailing for at least 10 min... I peeked out the window and saw bright beautiful sunshine beaming down on what looked like a healthy dusting of snow. So, me being the picture fanatic I am I decided I couldnt pass up the opportunity to photographic some fresh and thick hail around my yard. None of these pictures have been edited and I was mostly trying to work on capturing the shape of the hail and the resulting water melt, mostly working with the focus of my camera. I was very pleased with the results:


I really liked this picture- the clarity at the top of the image is superb and the blurry, unfocused parts of the picture seem to almost be in theme with the water dripping down the leaf....


I used alot of Selective focusing in these images!


yet another selective focus- the rocks at the bottom almost look like they are photographed through glass, slowly coming into focus around the edge of the water and leading your eye through the left of the photo to the top. I love the fluidity of the water in this image as well as the contrast between the fully in focus rocks and the blurry unfocused rocks at the bottom.... This is actually a tiny bed of rocks next to my driveway, only about 1/2 a foot wide... Would you ever have guessed looking at this image?


This image is almost fully in focus but the bottom inch or so of the image is just ever so slightly out of focus. I really liked the V the rocks made towards the top of the image and the small yellow leaf seemed to add a nice punch of color as well as scale. I also really like being able to see the ripples in the water as well as some of the dark shadows of the rocks.  I think this looks more like a river's edge than water draining out of my driveway! :)


LOCATION: My house
DATE/TIME: March 12, 2010 @ 3pm
SUBJECT:  hail, water, rocks, plants, focus, aperture, texture

Mad River Beach

I have been so busy and away from the blog for a while.... its time to play a little catch up! I went to Mad River Beach for the first time in January, guided by my bro. (it's his favorite beach). We walked up the beach from the pot-hole ridden parking lot down to where the river meets the ocean and back to the parking lot along the biggest dunes I have ever seen! It was certainly a workout, going up and down and up and down in all that loose sand.... The day started off really cloudy and drizzly but the heavens opened up once we got to the beach, and the photography god decided the keep the clouds and rain at bay until after I had gotten a couple great shots.

This photo is towards the end of our walk, standing on top of the dunes. I love quite a few things about this picture but I guess my favorite would have to be the clouds. I love the way they draw your eye into the image, their scale and threatening, menacing look. The second thing I like is how the clouds lead your eye to the center of the image which is whited/grayed out by the fog and sea spray rolling in (and its right over that dune peak, which lines up nicely), but on either side of the center you can still see pretty far.
This photo was at the beginning of our walk. I am in love with this image, its actually my screensaver at home. From the texture of the driftwood with all the interesting turns, knobs, juts, & holes to the light and fluffy texture of the sea foam coming in so close, to the way the sea seems to disappear into whiteness... Did I mention that I am in love with this image? :)

LOCATION: Mad River Beach, McKinleyville CA
DATE/TIME: 1/30/10 , 1-3pm
SUBJECT: Nature, Landscape, Seascape
NOTES: Pictures taken using a polarizing filter and edited under 5min. mostly saturation and light levels

Exposure

I went to Patricks Point State Park today for a hike. It was gorgeous! However, this wreaked havoc on my pictures because it was waayy to bright out for my lil'ol' point-&-shoot! So I had to try and mess around with the exposure of the photos as well as the settings in order to capture the waves breaking; and then had to mess with the exposure/light balance in Elements...


LOCATION: Patrick's Point State Park
DATE: Nov. 21, 2009 @ 1-3pm
SUBJECT: Landscape, Seascape

Fair Entries

I entered 6 photographs in the Humboldt County Fair, Amateur Photography Division, and came out with my first ribbon!!

THIRD PLACE WINNER: Black and White Landscape


LOCATION: Avenue of the Giants, Humboldt CA
DATE/TIME: Fall 2008, Midday
SUBJECT: Redwoods, Landscape

Followers