Tutorial- Using Textures, Layer Masks, & Cropping
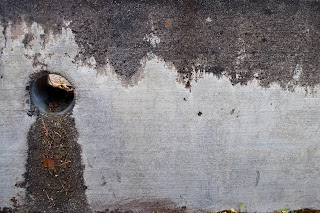
I was out on my lunch break the other day taking photos of textures to use in photoshop and in graphic design. I need to start working on a website for the store so the more textures and backgrounds I have to choose from the better! Anywhoo.. I stopped at some blooming cherry trees for a few minutes. I took some cherry blossom photos last year but I wasn't too happy with ow they turned out so I was excited to give it another go... And pleased with the results of my 5 minutes...

<-----------
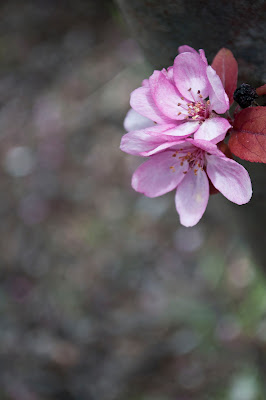
ORIGINAL
mildly edited- Strong SCurve & Contrast & Clarity...
----------->
STEP 2
cloned out the weird wrinkly raisin looking thing in the upper right of the blossom

<-----------
STEP 3
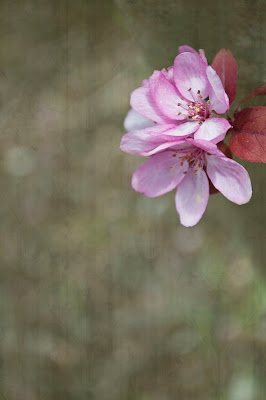
green fleur de lis paper overlay (as a new layer on top) with low opacity
----------->
STEP 4
layer mask (use the paintbrush tool- black to hide, white to reveal) painted over the flowers to keep them clear of the overlay (feathered)
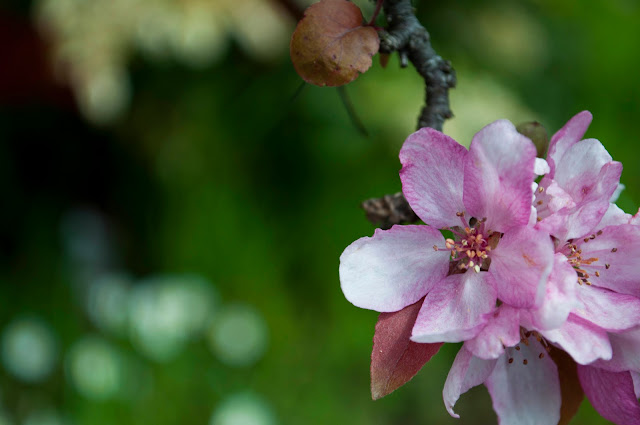
DIFFERENT CROPS
I wanted to try a few different crops to see what fit this image the best. I'm trying to get a better understanding of how subject matter relates to the crop selection so this was kind of a neat quick exercise to see how it played out...
I need an external hard drive for all this STUFF!!!
Location: 7th & I -- Eureka, CA
Date/Time: April 14, 2011
Subject(s): Cherry Blossom
Notes:


0 comments:
Post a Comment